Unfinished Bathroom Remodel with Renovo? HIM Offers Reliable Remodeling Solutions
January 28, 2026 · 3 min read
Bathroom Remodeling in South Florida
At H.I.M, we take a different approach. We deliver exceptional shower transformations through our meticulous 16-step installation process, designed to ensure quality, reliability, and stunning results every time. With H.I.M, your shower remodel feels like a dream—not a disaster.
Quality control is essential. Before work begins, all materials are thoroughly inspected, including:
Wall panels
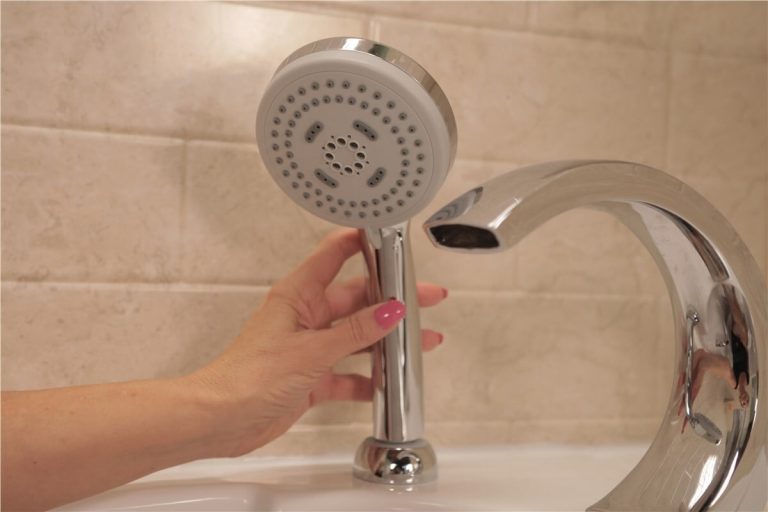
Fixtures and hardware
Plumbing components
Every component must meet H.I.M’s rigorous standards and your exact specifications—helping prevent delays and ensure superior results.
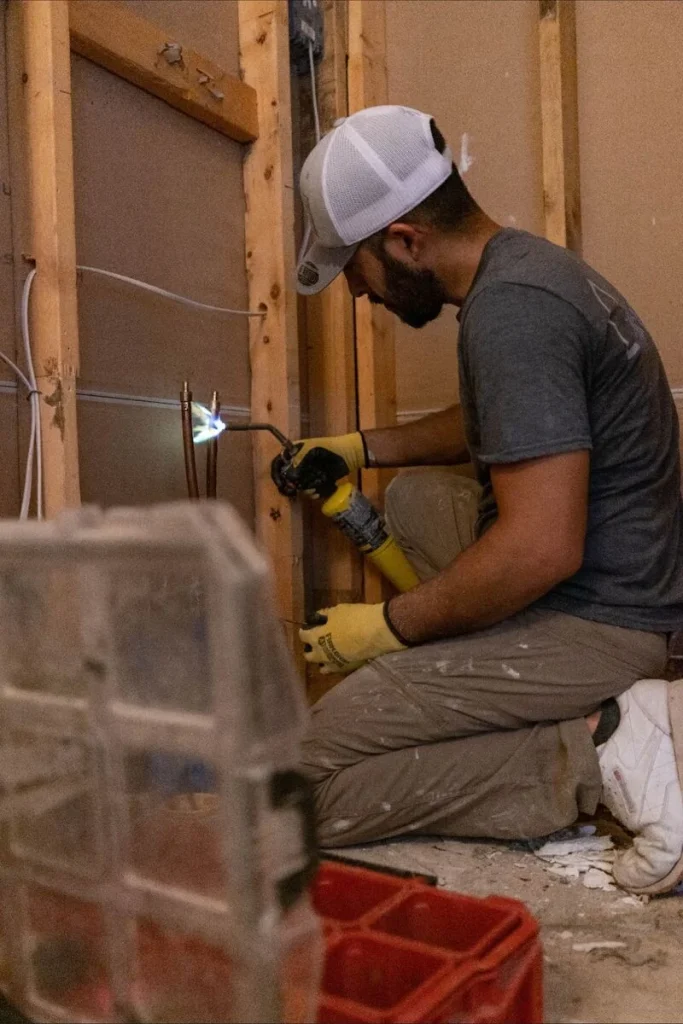
Demo, Plumbing Work, and Core Installation
Day one focuses on preparation and foundational work. For most homeowners, this phase is completed in a single day.
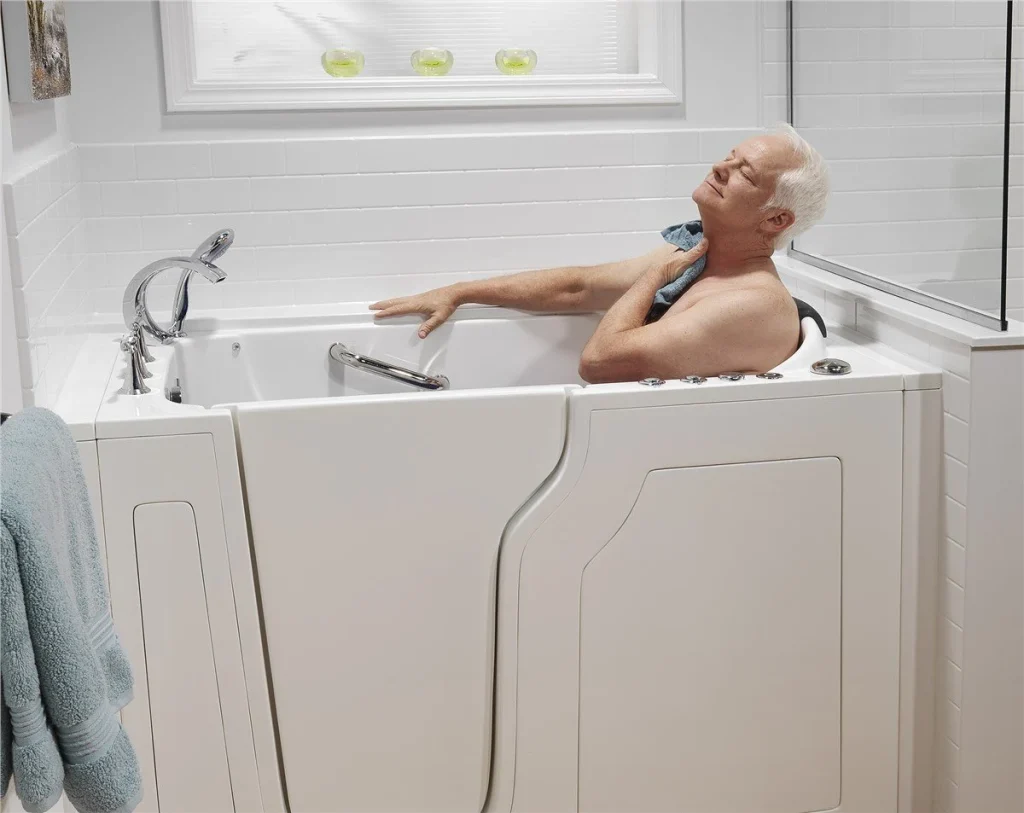
To ensure long-term structural integrity, we add reinforcements where necessary to support:
Heavy fixtures
Grab bars
Additional functional or aesthetic elements
Waterproofing is the most critical phase of any shower remodel. With H.I.M’s systems and installation methods, you’re guaranteed a fully waterproof shower. For most homeowners, these steps are completed on day two.
Precise measurements ensure accurate cutting and placement of panels, reducing waste and maximizing visual appeal.
Wall panels are custom-trimmed to your shower’s dimensions, allowing seamless integration of:
Fixtures
Architectural features
Outlets
Safety accessories
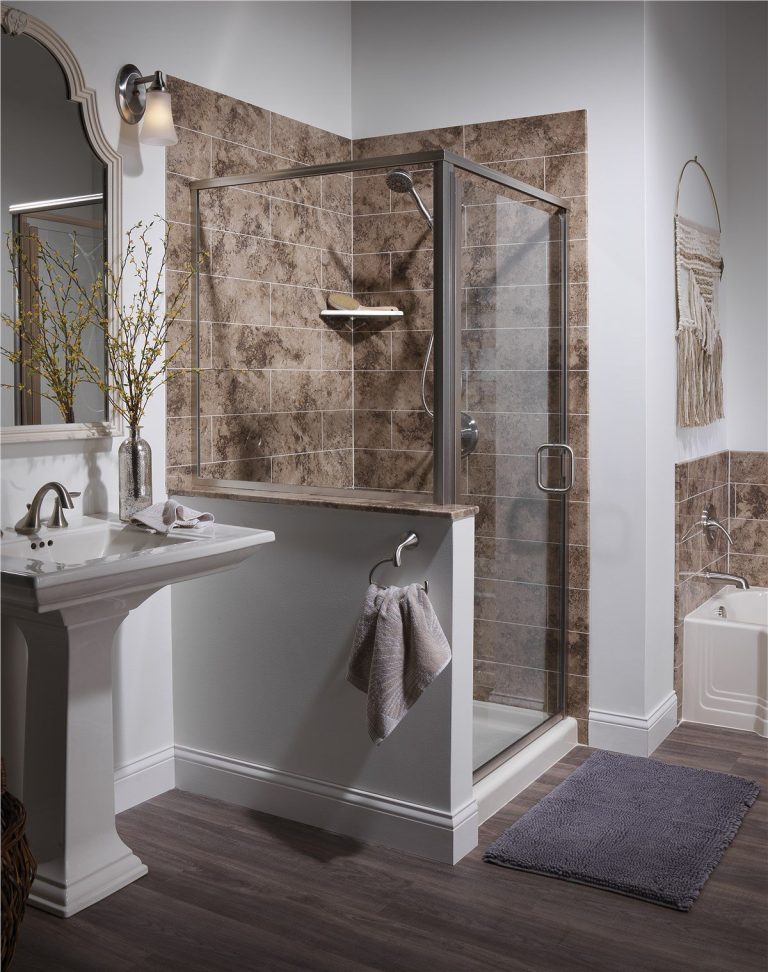
Our exclusive Triple-Lock Wall System provides unmatched moisture protection and a seamless finished appearance—engineered for long-term durability.\\\
Each panel is carefully fitted and triple-checked to ensure seamless transitions and clean sightlines throughout the space.
We seal all joints using Adhere Anti-Microbial Sealant to create watertight seams while inhibiting mold and bacteria growth—promoting better air quality and hygiene.
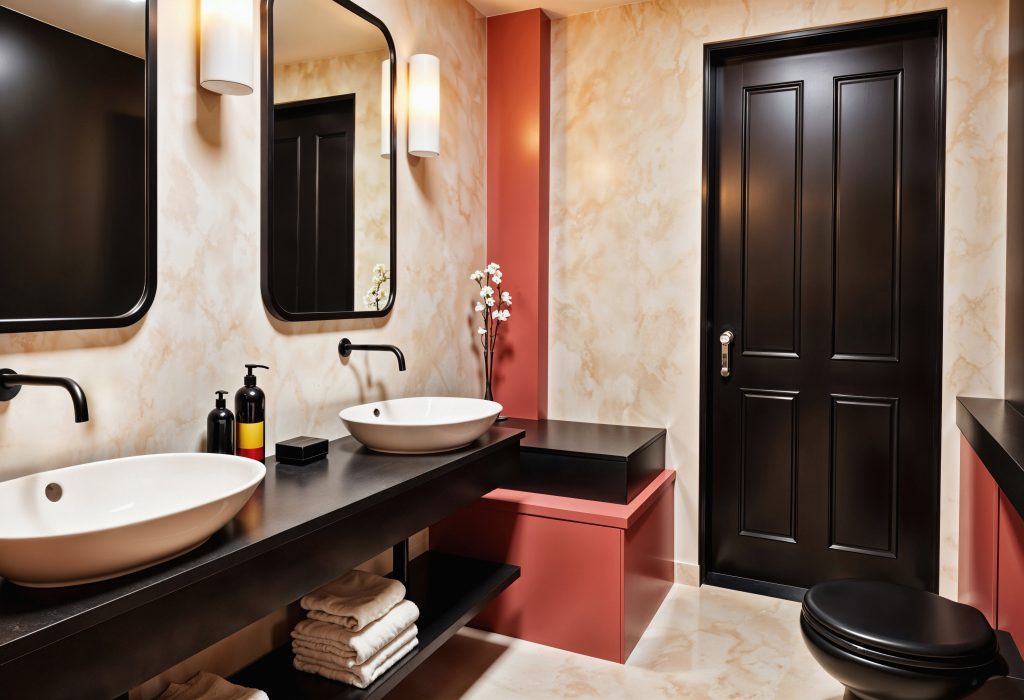
Finishing touches are installed with precision, including:
Towel bars
Shower caddies
Decorative trim
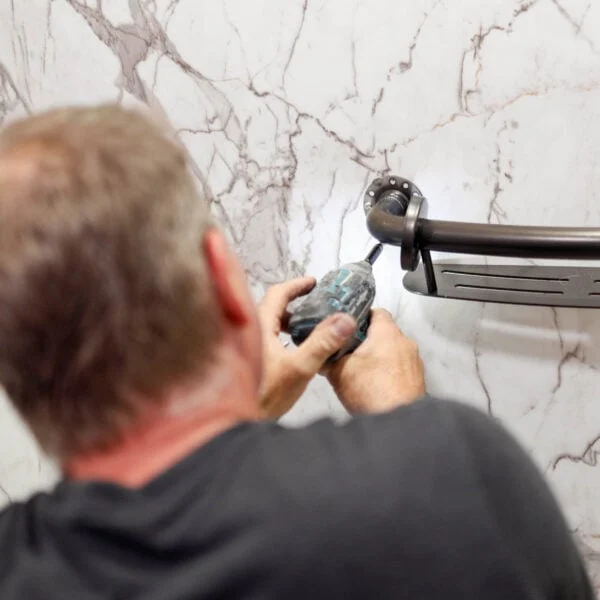
We remove all construction residue, polish surfaces, and conduct a final inspection to ensure every detail meets H.I.M’s exacting standards.
A remodeling company’s process determines the entire experience. With H.I.M, you never have to worry about missed timelines, poor communication, or unfinished projects. What truly sets us apart isn’t just our 16-step process—it’s the craftsmanship, attention to detail, and customer care behind every step.
Ready to transform your bathroom with our proven 16-step process?
Schedule your free, no-obligation consultation today and experience the H.I.M difference.